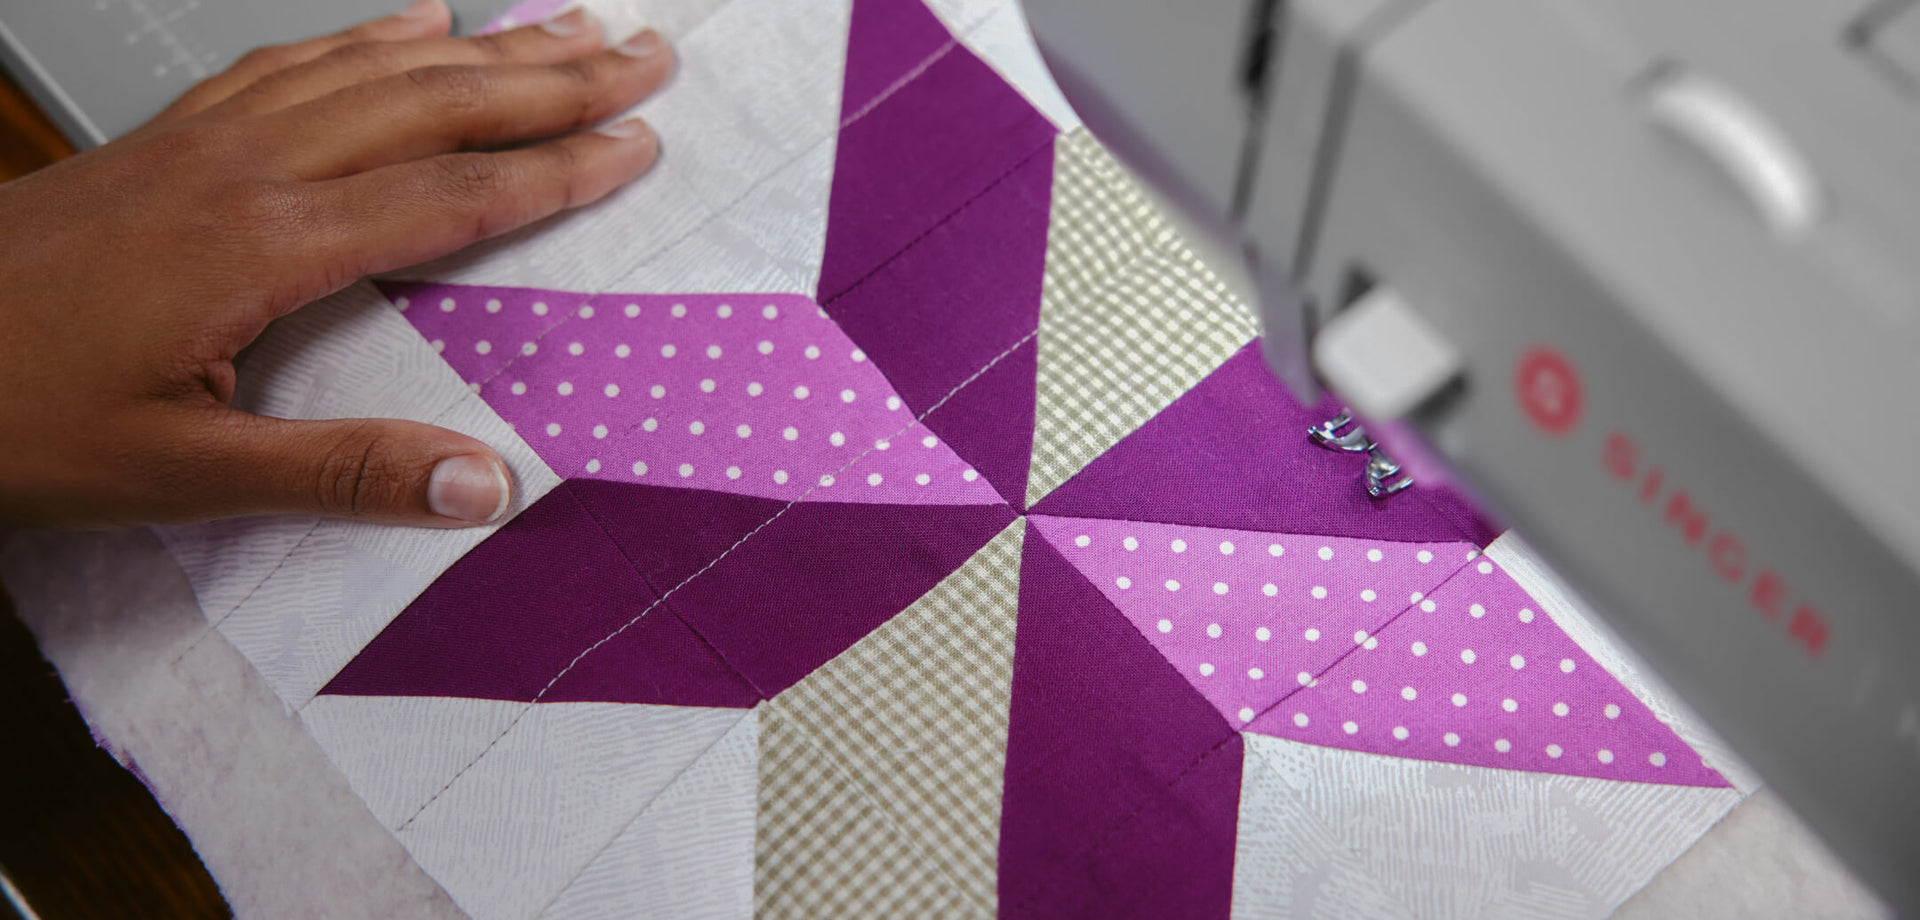
Summer Sewing Camp
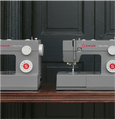
Learn sewing and crafting tips from SINGER® brand ambassadors, highlighting projects and techniques, while showcasing top-rated products for all experience levels.

mySewnet Studio
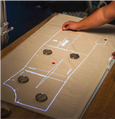
Visit our world of inspiration and knowledge where you can find hundreds of embroideries and sewing projects at any skill level.

Hundreds of Projects
Get step-by-step project instructions and learn how to make the most of your machine in this robust resource center.

Expand Your Creativity
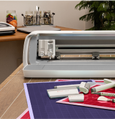
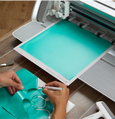
Create personal cards, decorations in paper, and even more. The crafting software is included for free with the purchase of SINGER® MOMENTO™ and a Silver Subscription will give you
access to mySewnet Library to hundreds of projects, fonts and images.

Personalized Creations
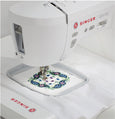
Elevate your card-making game with project-in-the-hoop embroideries featuring diverse layouts and captivating themes. Select from a range of styles to suit any occasion and let your creativity shine. With blank versions available, personalize your creations with unique lettering and designs.

