


Shop Presale Get exclusive first access to the all-new embroidery-capable Smart Heavy Duty.

The Next Evolution of Heavy Duty Power The Heavy Duty™ you trust, upgraded.

For Projects That Demand More Designed to help new serger users build confidence from the very first project.
Shop Presale Get exclusive first access to the all-new embroidery-capable Smart Heavy Duty.
The next evolution of heavy duty power. The Heavy Duty™ you trust, upgraded.

Bundle & Save Shop your favorite Heavy Duty machines bundled with must-have accessories—all at a price that’s hard to beat.

Special Financing Available for up to 48 months† on qualifying purchases made with your Sewing & More credit card.
Shop Presale Get exclusive first access to the all-new embroidery-capable Smart Heavy Duty.

Machine Finder Find the right machine for your project.

View All Machines Sewing, Embroidery, Fabric Cutting machines and more!
Special Financing Available for up to 48 months† on qualifying purchases made with your Sewing & More credit card.

Halloween Prints Add a touch of spooky charm to your project with our new Halloween cotton prints!

Get Costume Ready Shop deals on fabric and patterns all month long.

Fall Favorites Explore our fall favorites prints and bring a cozy touch of autumn to your next project!

Accessory Finder Find the right accessory for your machine.
View All Accessories Huge selection of sewing solutions and supplies.

Sew & Save Shop Last Chance and Final Markdown machines at incredible prices.
Get Costume Ready Shop deals on fabric and patterns all month long.

Fall Savings Find everything you need for your next project, with savings on select machines, 25% off select accessories and free shipping.
Special Financing Available for up to 48 months† on qualifying purchases made with your Sewing & More credit card.

Shop Presale
Get exclusive first access to the all-new embroidery-capable Smart Heavy Duty.

The Next Evolution of Heavy Duty Power
The Heavy Duty™ you trust, upgraded.

For Projects That Demand More
Designed to help new serger users build confidence from the very first project.
Shop Presale
Get exclusive first access to the all-new embroidery-capable Smart Heavy Duty.
The Next Evolution of Heavy Duty Power
The Heavy Duty™ you trust, upgraded.

Bundle & Save
Shop your favorite Heavy Duty machines bundled with must-have accessories—all at a price that’s hard to beat.

Special Financing
Available for up to 48 months† on qualifying purchases made with your Sewing & More credit card.
Shop Presale
Get exclusive first access to the all-new embroidery-capable Smart Heavy Duty.

Machine Finder
Find the right machine for your project.

View All Machines
Sewing, Embroidery, Fabric Cutting machines and more!
Special Financing
Available for up to 48 months† on qualifying purchases made with your Sewing & More credit card.

Accessory Finder
Find the right accessory for your machine.
View All Accessories
Huge selection of sewing solutions and supplies.

Sew & Save
Shop Last Chance and Final Markdown machines at incredible prices.

Get Costume Ready
Shop deals on fabric and patterns all month long.

Fall Savings
Find everything you need for your next project, with savings on select machines, 25% off select accessories and free shipping.
Special Financing
Available for up to 48 months† on qualifying purchases made with your Sewing & More credit card.
New
Shop Presale Get exclusive first access to the all-new embroidery-capable Smart Heavy Duty.
The Next Evolution of Heavy Duty Power The Heavy Duty™ you trust, upgraded.
For Projects That Demand More Designed to help new serger users build confidence from the very first project.
Heavy Duty
Shop Presale Get exclusive first access to the all-new embroidery-capable Smart Heavy Duty.
The Next Evolution of Heavy Duty Power The Heavy Duty™ you trust, upgraded.
Bundle & Save Shop your favorite Heavy Duty machines bundled with must-have accessories—all at a price that’s hard to beat.
Special Financing Available for up to 48 months† on qualifying purchases made with your Sewing & More credit card.
Sewing Machines
Shop Presale Get exclusive first access to the all-new embroidery-capable Smart Heavy Duty.
Machine Finder Find the right machine for your project.
View All Machines Sewing, Embroidery, Fabric Cutting machines and more!
Special Financing Available for up to 48 months† on qualifying purchases made with your Sewing & More credit card.
Fabric
Accessories
Accessory Finder Find the right accessory for your machine.
View All Accessories Huge selection of sewing solutions and supplies.
Deals
Sew & Save Shop Last Chance and Final Markdown machines at incredible prices.
Get Costume Ready Shop deals on fabric and patterns all month long.
Fall Savings Find everything you need for your next project, with savings on select machines, 25% off select accessories and free shipping.
Special Financing Available for up to 48 months† on qualifying purchases made with your Sewing & More credit card.
Find Your Fit
Limited Time & Exclusions Apply
Shopping cart
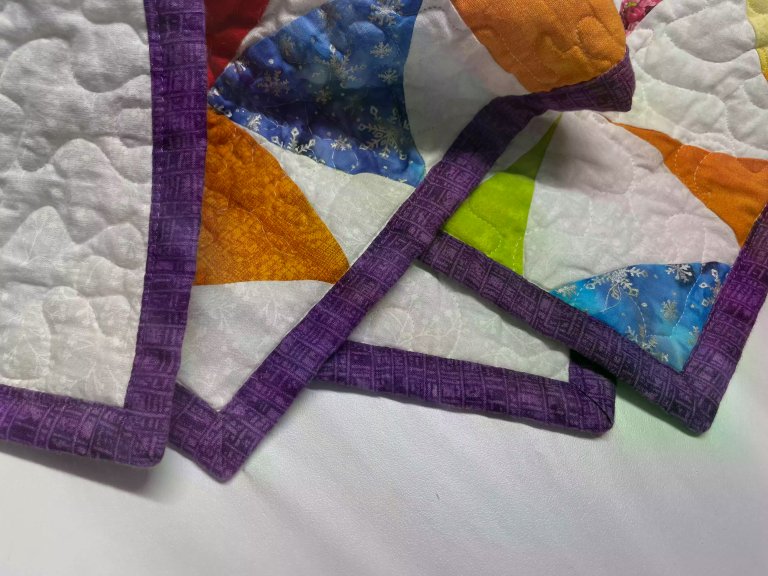
What you need:
Fabric for binding see preparation for the amount needed.
Preparation
In our example we have chosen the finished width to ⅝” (1,5cm) but you can easily change to whatever width you want following the instructions below:
To determine how wide to cut the strips:
Example:
Finished width six times= 5/8" (1,5cm) x6= 3 3/4" (9cm)
Add 1/4" (0,5cm) to compensate for batting and fabric thickness = 4" (9,5cm)
To determine the required number of strips:
Example:
Quilt length x2 and width x2 = 138" (350cm) Add at least 6-8" (15-20cm) for joining strips. =146" (350+20cm)
Fabric width: 55" (140cm)
Calculation:
Inches: 146/55=2,65 (round up to three strips)
Centimeters 370/140= 2,64(round up to three strips)
Making the binding:
1. Cut the required strips 4” (9,5cm) wide.
2. Put the strips right sides together and Join them together with a diagonal seam, see pictures. Do the same with all the strips to get one long binding strip


3. Fold the joined strips together wrong sides facing each other and raw edges even, do not press.
4. On the back of the quilt, start in the middle on one side, leaving a 6” (15cm)tail for joining later.
5. Sew the folded strip with ⅝” (1,5cm) seam allowance, stop ⅝” (1,5cm) from the corner.
6. Sew diagonally at 45 degrees angle out into the corner. Cut thread.

7. Fold the strip up and then down along the next side, see pictures for clarity.
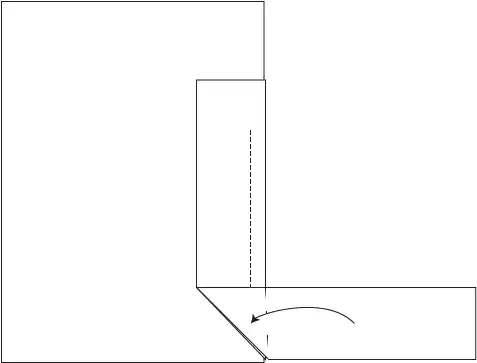
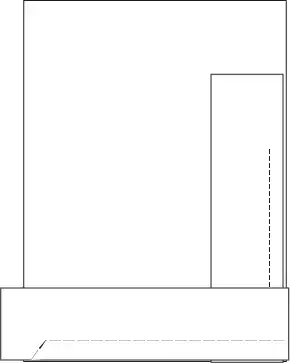
8. Start sewing from the edge and stop ⅝” (1,5cm) from the next corner. Repeat on the next two sides.
9. To join the edges stop about 6-8” (15-20cm) from the starting point. Lay the strips on top of each other and cut the top strip 4“ (9cm) from the overlap.
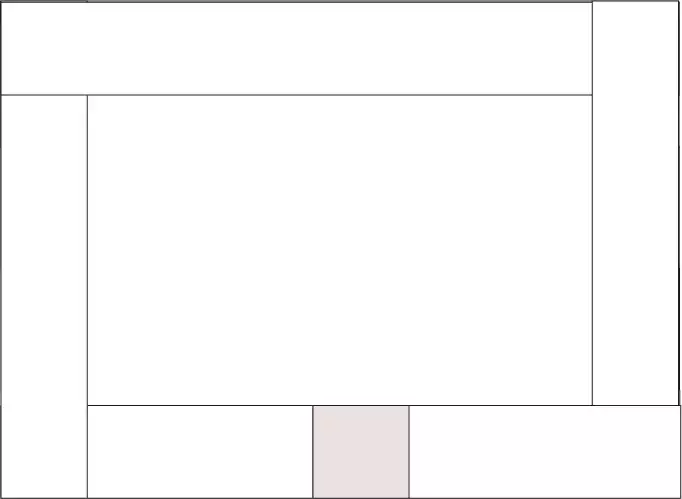
10. Join the edges diagonally and finish the seam.
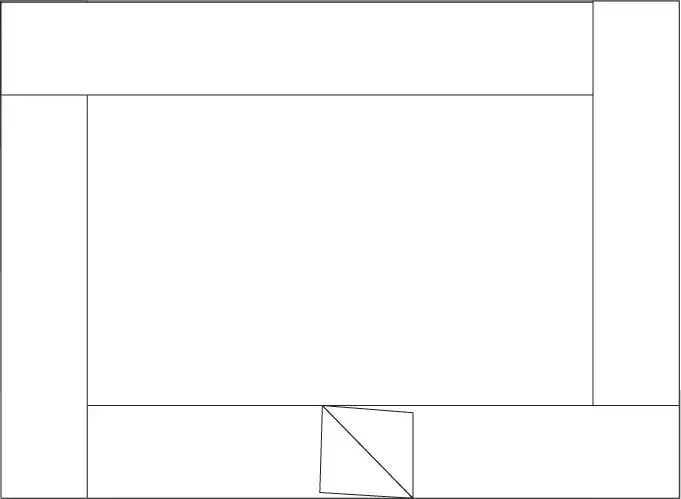
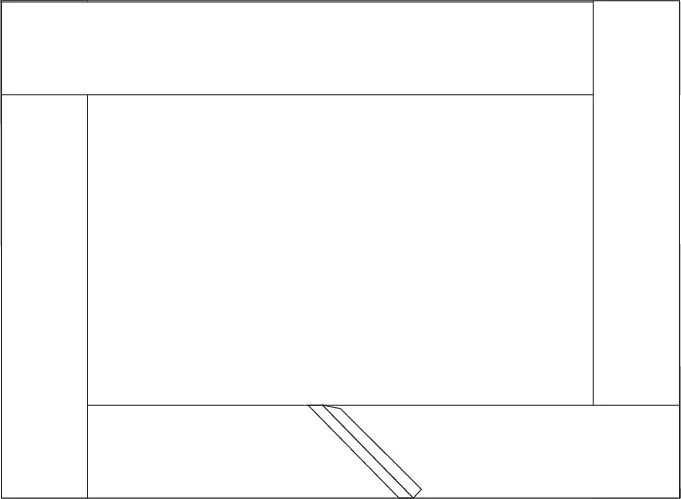
11. Turn the right side of the quilt up. Turn the raw edges to the quilt side, then turn again and pin in place, be careful to cover the previous seam.

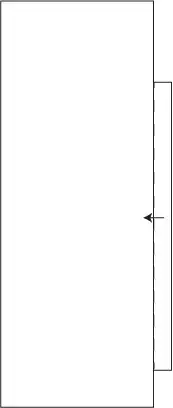
12. In the corner, fold the edge up and to the end and from the next side, fold the corner in forming a mitered corner.
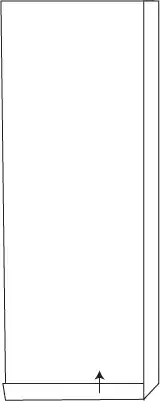

13. Stitch the binding close to the edge


