You are offline, the product will be added to cart once you are online on product availability
The products are being added to cart which are added while offline
Previous Next
Straight Stitch Left Position

Straight Stitch Left Position


STRAIGHT STITCH LEFT POSITION


Applications


Seams

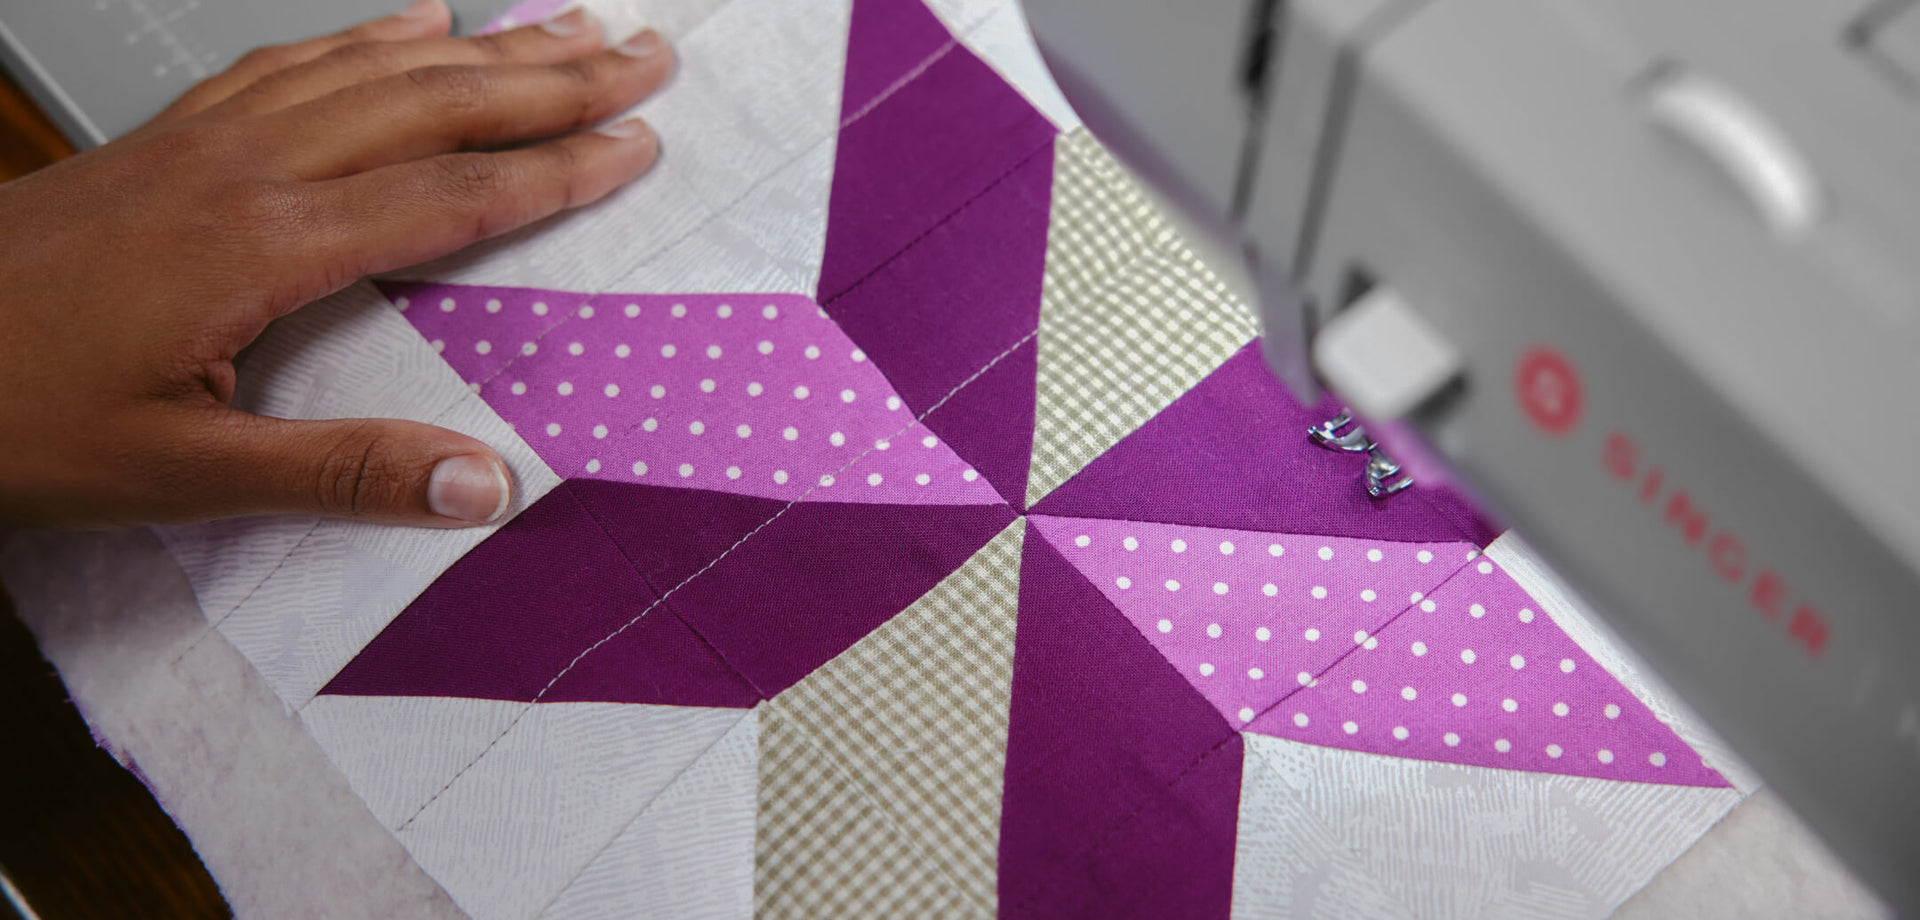
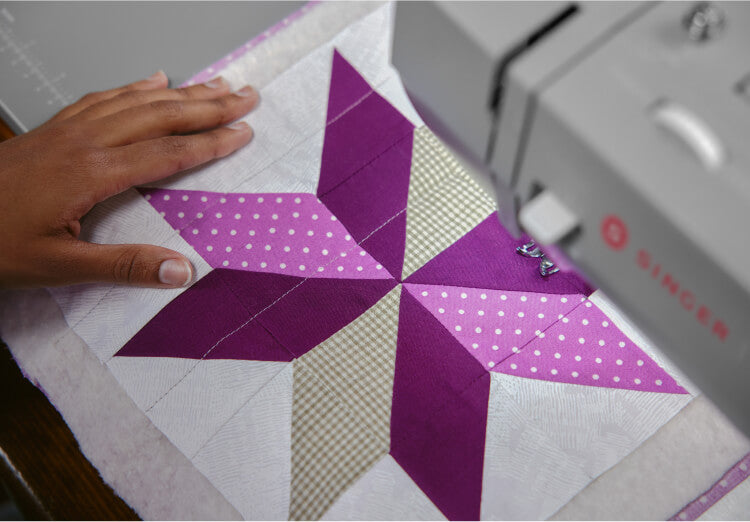
The most common use for the straight stitch is for joining fabrics together with a seam. When sewing with the needle in left position, more of the fabric is under the presser foot than if sewing in center needle position, which can help the fabric feed smoothly when sewing some fabrics.

STRAIGHT STITCH LEFT POSITION - SEAMS

Topstitching

Topstitching is a line of straight stitching on the outside of a garment or project, usually as a decorative embellishment. The left position straight stitch can be used to sew topstitching on projects like coats, jackets and tote bags. Because the needle is in left position, more of the fabric is under the presser foot, offering stable fabric feed. Use a SINGER Topstitching Needle, size 90/14 for medium weight fabrics, or a SINGER Topstitching needle, size 100/16 for heavier fabrics. A Topstitching Needle (additional accessory) has a longer eye to accommodate thicker threads, such as topstitching thread which gives the stitches a bolder look. Sew 1/4" - 3/8" from the edge of the fabric.

STRAIGHT STITCH LEFT POSITION - TOPSTITCHING

Edge Stitching

Edgestitching can be used add stability to projects like tote bags, or it can be used simply as a decorative embellishment. Select the left position straight stitch. Sew approximately 1/8" from the edge of the fabric. It can be helpful to use the Blind Hem Foot (additional accessory for some machine models) as a guide for the edge of the fabric, adjusted to help you sew straight along the edge.

STRAIGHT STITCH LEFT POSITION - EDGE STITCHING


Zipper Insertion

The left position straight stitch can be used to aid with zipper insertion. The main types of zipper insertion are the centered zipper, the lapped zipper and the fly front zipper. All these methods are done using the basic Zipper Foot (additional accessory for some machine models).


Creating Piping

There are times you may want to create your own piping, particularly if you want a specific color for your project. Cut a fabric strip wide enough to wrap around the cord as well as provide ample seam allowance. The fabric strip should be cut on the bias, which will make it easy to insert the piping at corners and curves without puckering. Select the left position straight stitch. Use a Zipper Foot to help sew closer to the piping. With the needle in left position, it will be possible to sew closer to the cord which will provide a more snug fit.


Inserting Piping

Piping can be used in home decor, fashions and accessories, and more. It can be purchased pre-made in packages, or you can make it yourself. To insert piping, sandwich the piping between the fabric layers. It may be helpful to baste the layers together before stitching them at the machine. Set the machine for straight stitch and attach the Zipper Foot. With the needle in left position, it is possible to sew close to the cord, providing a more snug fit.

STRAIGHT STITCH LEFT POSITION - INSERT PIPING