


View All Shop the most versatile and reliable sewing machines on the market at a special price!

Coming Soon Learn more about the Next Generation of Heavy Duty.

Machine Finder Find the right machine for your project.

View All Machines Sewing, Embroidery, Fabric Cutting machines and more!
Coming Soon Learn more about the Next Generation of Heavy Duty.

Accessory Finder Find the right accessory for your machine.
View All Accessories Huge selection of sewing solutions and supplies.

Sew Big Savings Get ready for new markdowns on your favorite items! Limited stock is available, so shop now before it's too late!

Machine Finder
Find the right machine for your project.

View All Machines
Sewing, Embroidery, Fabric Cutting machines and more!

Coming Soon
Learn more about the Next Generation of Heavy Duty.

Accessory Finder
Find the right accessory for your machine.
View All Accessories
Huge selection of sewing solutions and supplies.
Heavy Duty
Sewing Machines
Machine Finder Find the right machine for your project.
View All Machines Sewing, Embroidery, Fabric Cutting machines and more!
Coming Soon Learn more about the Next Generation of Heavy Duty.
Accessories
Accessory Finder Find the right accessory for your machine.
View All Accessories Huge selection of sewing solutions and supplies.
Deals
Find Your Fit
Shopping cart
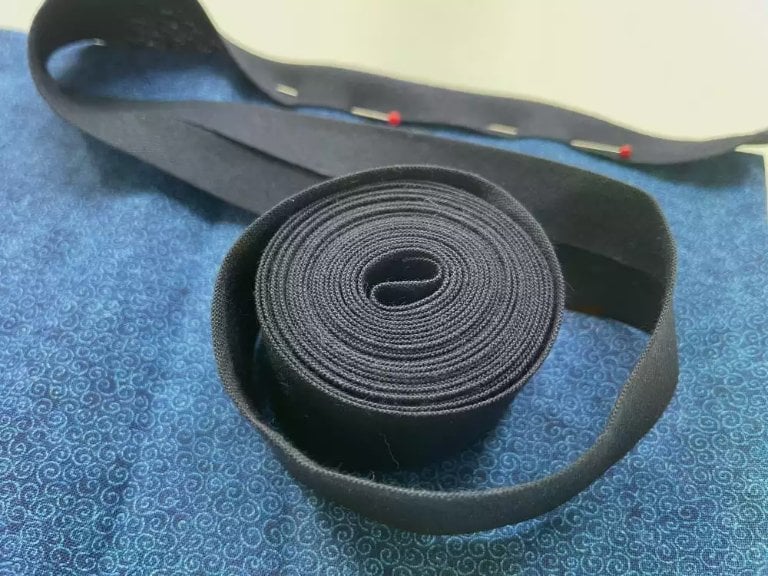
Binding with bias tape is a very easy way to give fabric edges a smooth and neat appearance. Bias tape is strips of fabric cut on the bias which makes it more flexible and gives it some stretch to finish edges of neck lines, blankets, hot pads, and more. It is optional to have a bias tape maker.
1. Square up a piece of fabric, a fat quarter works great for this as well.

2. Fold diagonally and finger press.
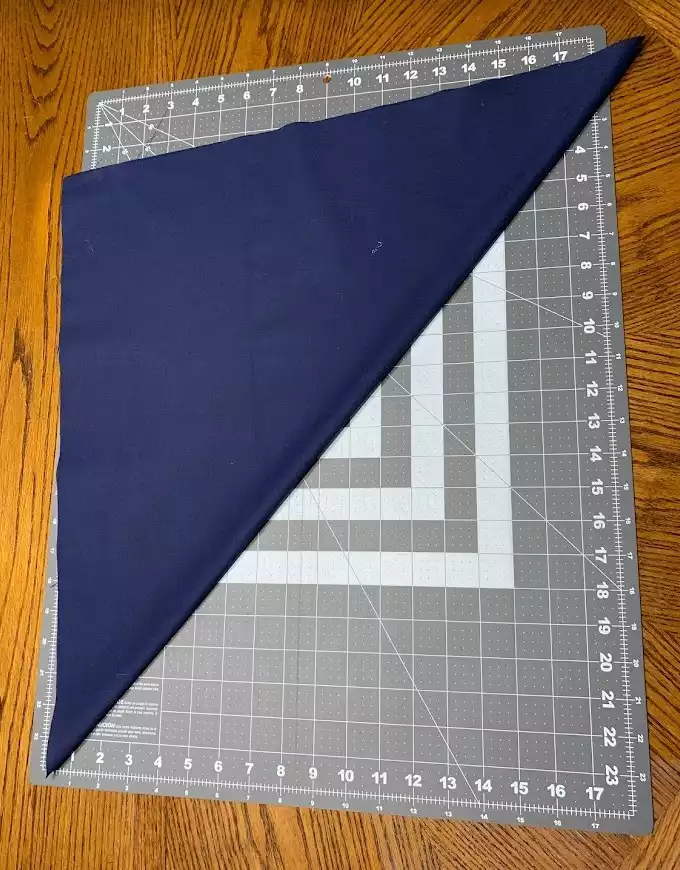
3. Cut along diagonal line.

4. Cut strips twice as wide as bias tape needed.

5. Once all strips are cut, you will lay one piece right side up with the point down, then lay another strip right side down point up, perpendicular to the first strip, angled edge should match up.
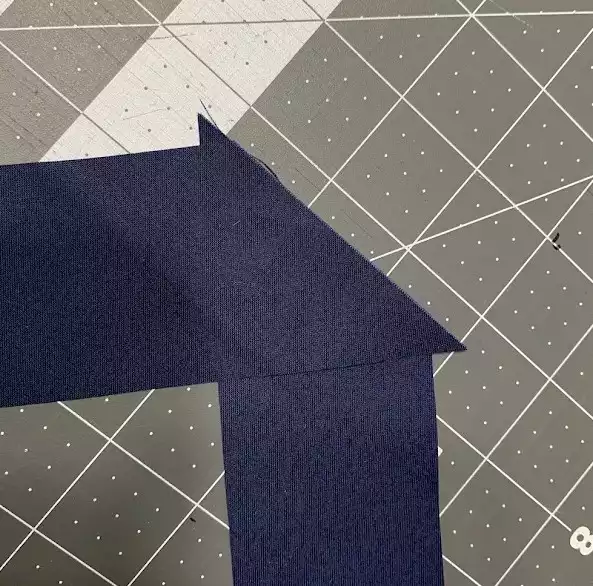
6. Pin and sew corner to corner using ¼” seam allowance.
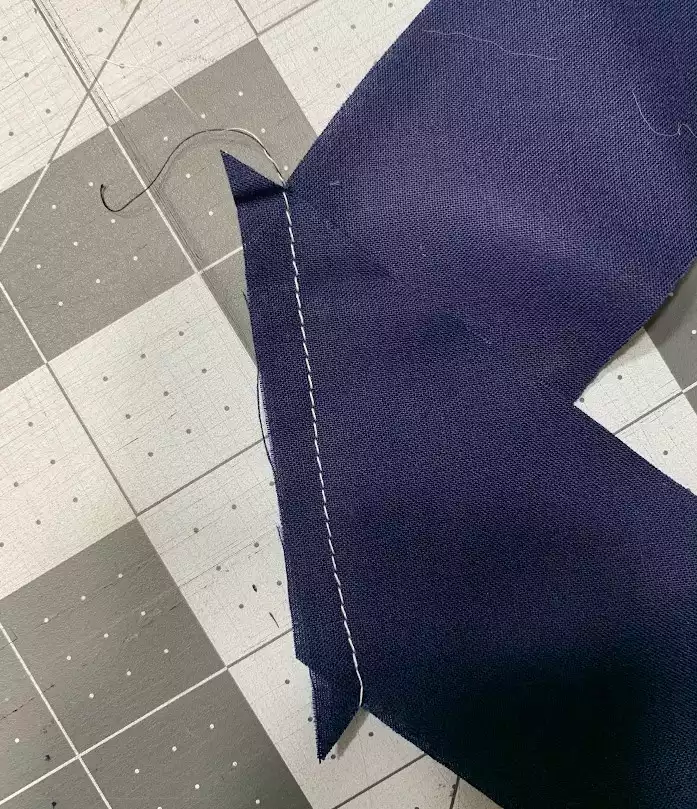
7. Cut corners off.
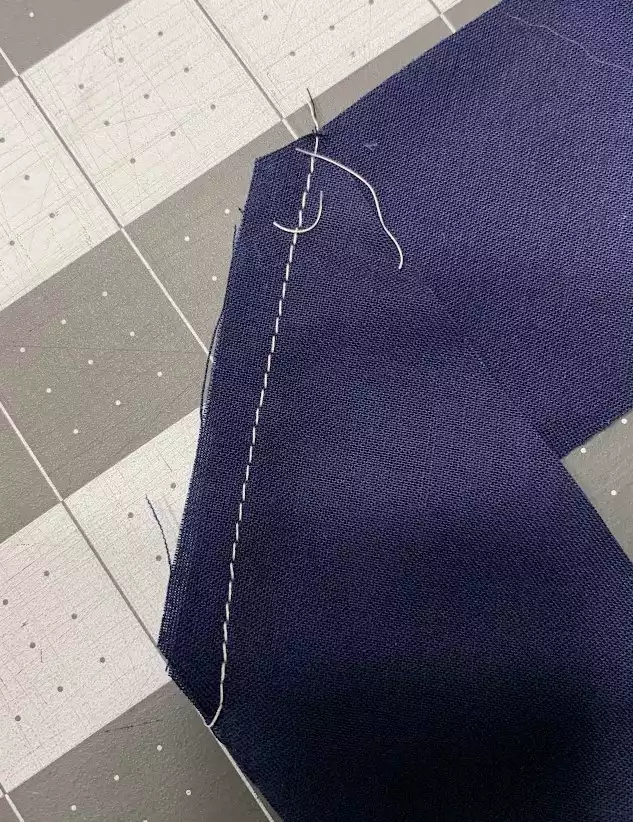
8. Continue steps 5-8 until you have made enough bias tape. Press seams open.
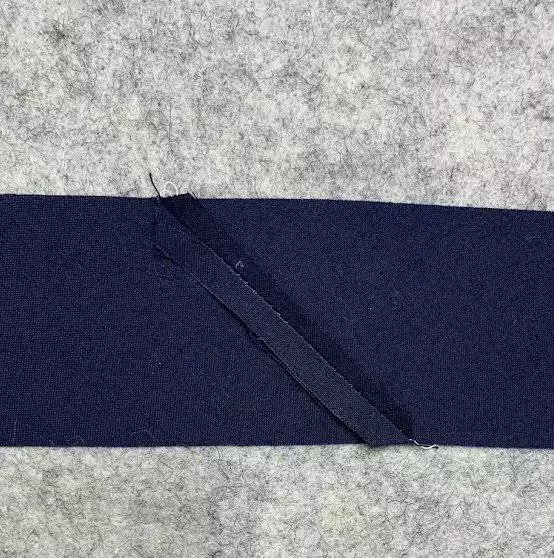
9. With bias tape sewn, we will fold the tape to create a single fold. This is where the optional bias tape maker comes in handy but you can do it without.
10. Without the bias tape maker, you will fold each side into the middle and will press. Use pins to keep fold in place while pressing.

11. If needing single fold tape, you are complete. If wanting double fold tape, fold in half and press.
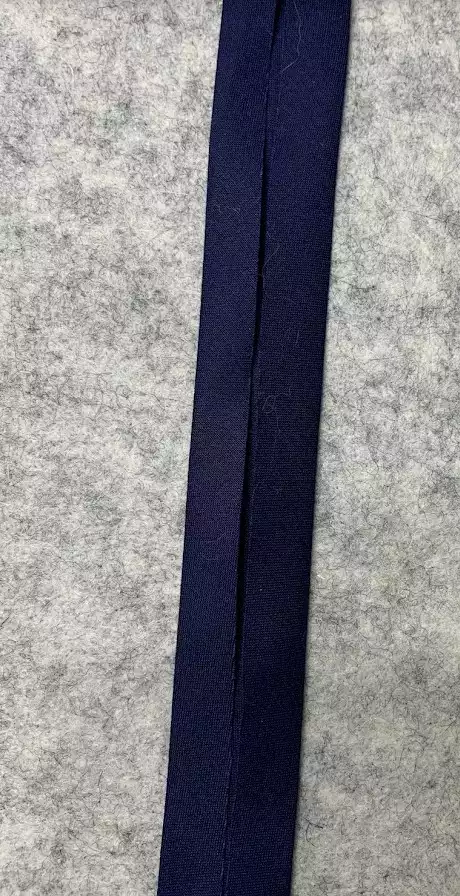
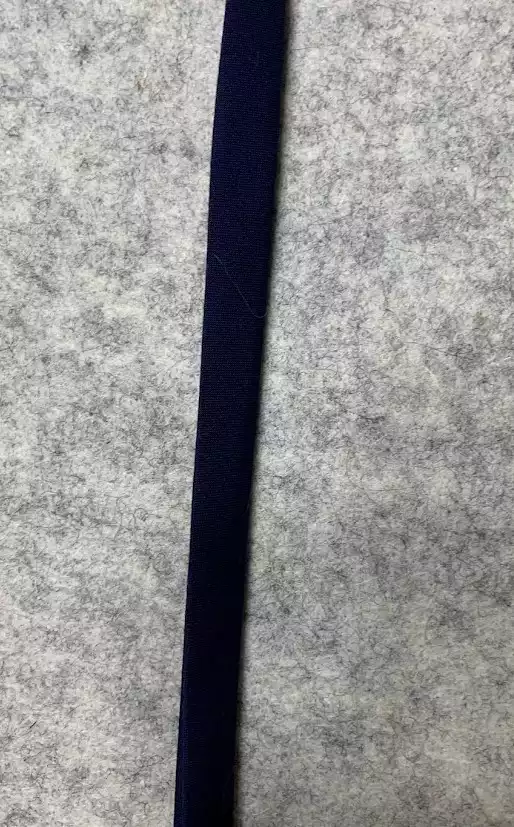
12. If you have a bias tape maker, pull stripes through maker and press bias tape as you pull the maker away from iron, this creates single fold tape. Fold in half and press to create double fold tape.


