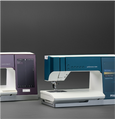
Máquinas de coser
- Destacados
- Buscador de máquinas
- IDT™ Activado
- Creador de puntadas™.
- 9 mm Puntada activada
- Mejor valorados
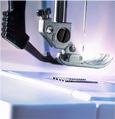
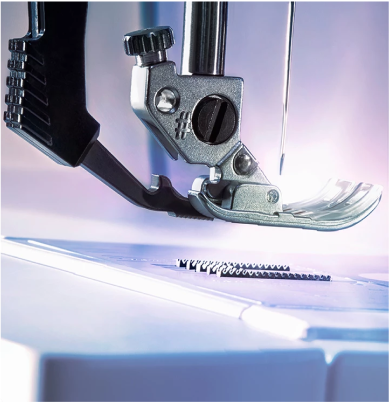
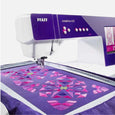
El sistema IDT Integrated Dual Feed garantiza una alimentación óptima del tejido.
Buscador de máquinas Encuentre la máquina adecuada para su proyecto.
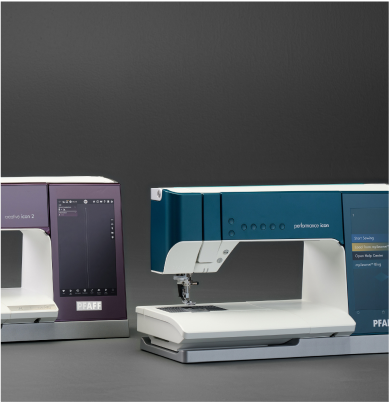
Ver todas las máquinas Explore las últimas innovaciones en costura, bordado y overlock.
Accesorios
- Nociones
- Agujas
- Estabilizadores
- Tijeras
- Bolsas/Cajas
- Material de acolchado
- Material de costura
- Mobiliario e iluminación
- Hilo
- Ver todos
- Lo mejor para
- Remiendos y arreglos
- Decoración del hogar
- Acolchado
- Bordado
- Prendas de vestir/Utilidades
- Destacados
- Buscador de accesorios
- Accesorio Guía del usuario
- Kit de acolchado ahora 149,99
- Accesorios más vendidos
- Novedades
- Mejor valorados

¡Ahorra $120! El Kit de acolchado PFAFF® ofrece un surtido de primera calidad de accesorios imprescindibles para las acolchadoras. ¡Ahora sólo 149,99 $!


Tejido

Shop 100% Cotton Now Available in our new fabric collection!

Summer Favorites Florals, bright solids, breathable cottons: shop it all today.

Start Your Costumes Now! Shop our new Halloween collection.
Ofertas
¡Ahorra más de $120! El Kit de acolchado PFAFF® ofrece un surtido de primera calidad de accesorios imprescindibles para las acolchadoras. ¡Ahora sólo 149,99 $!